Simple TODO app
In this tutorial, we will create a simple TODO app in Storefront X from scratch.
Setup
Let's start with creating a new Storefront X application from a simple template.
TIP
In this tutorial we will use the NPM package manager, but you can also use Yarn or any other package manager.
npm create storefront-x@latestSelect a destination directory (or leave the default one) and than select the "Blank application" preset. After the application is generated inside the selected directory, you can cd into that directory and install necessary dependencies and start the application in development mode.
cd storefront-x-app
npm install
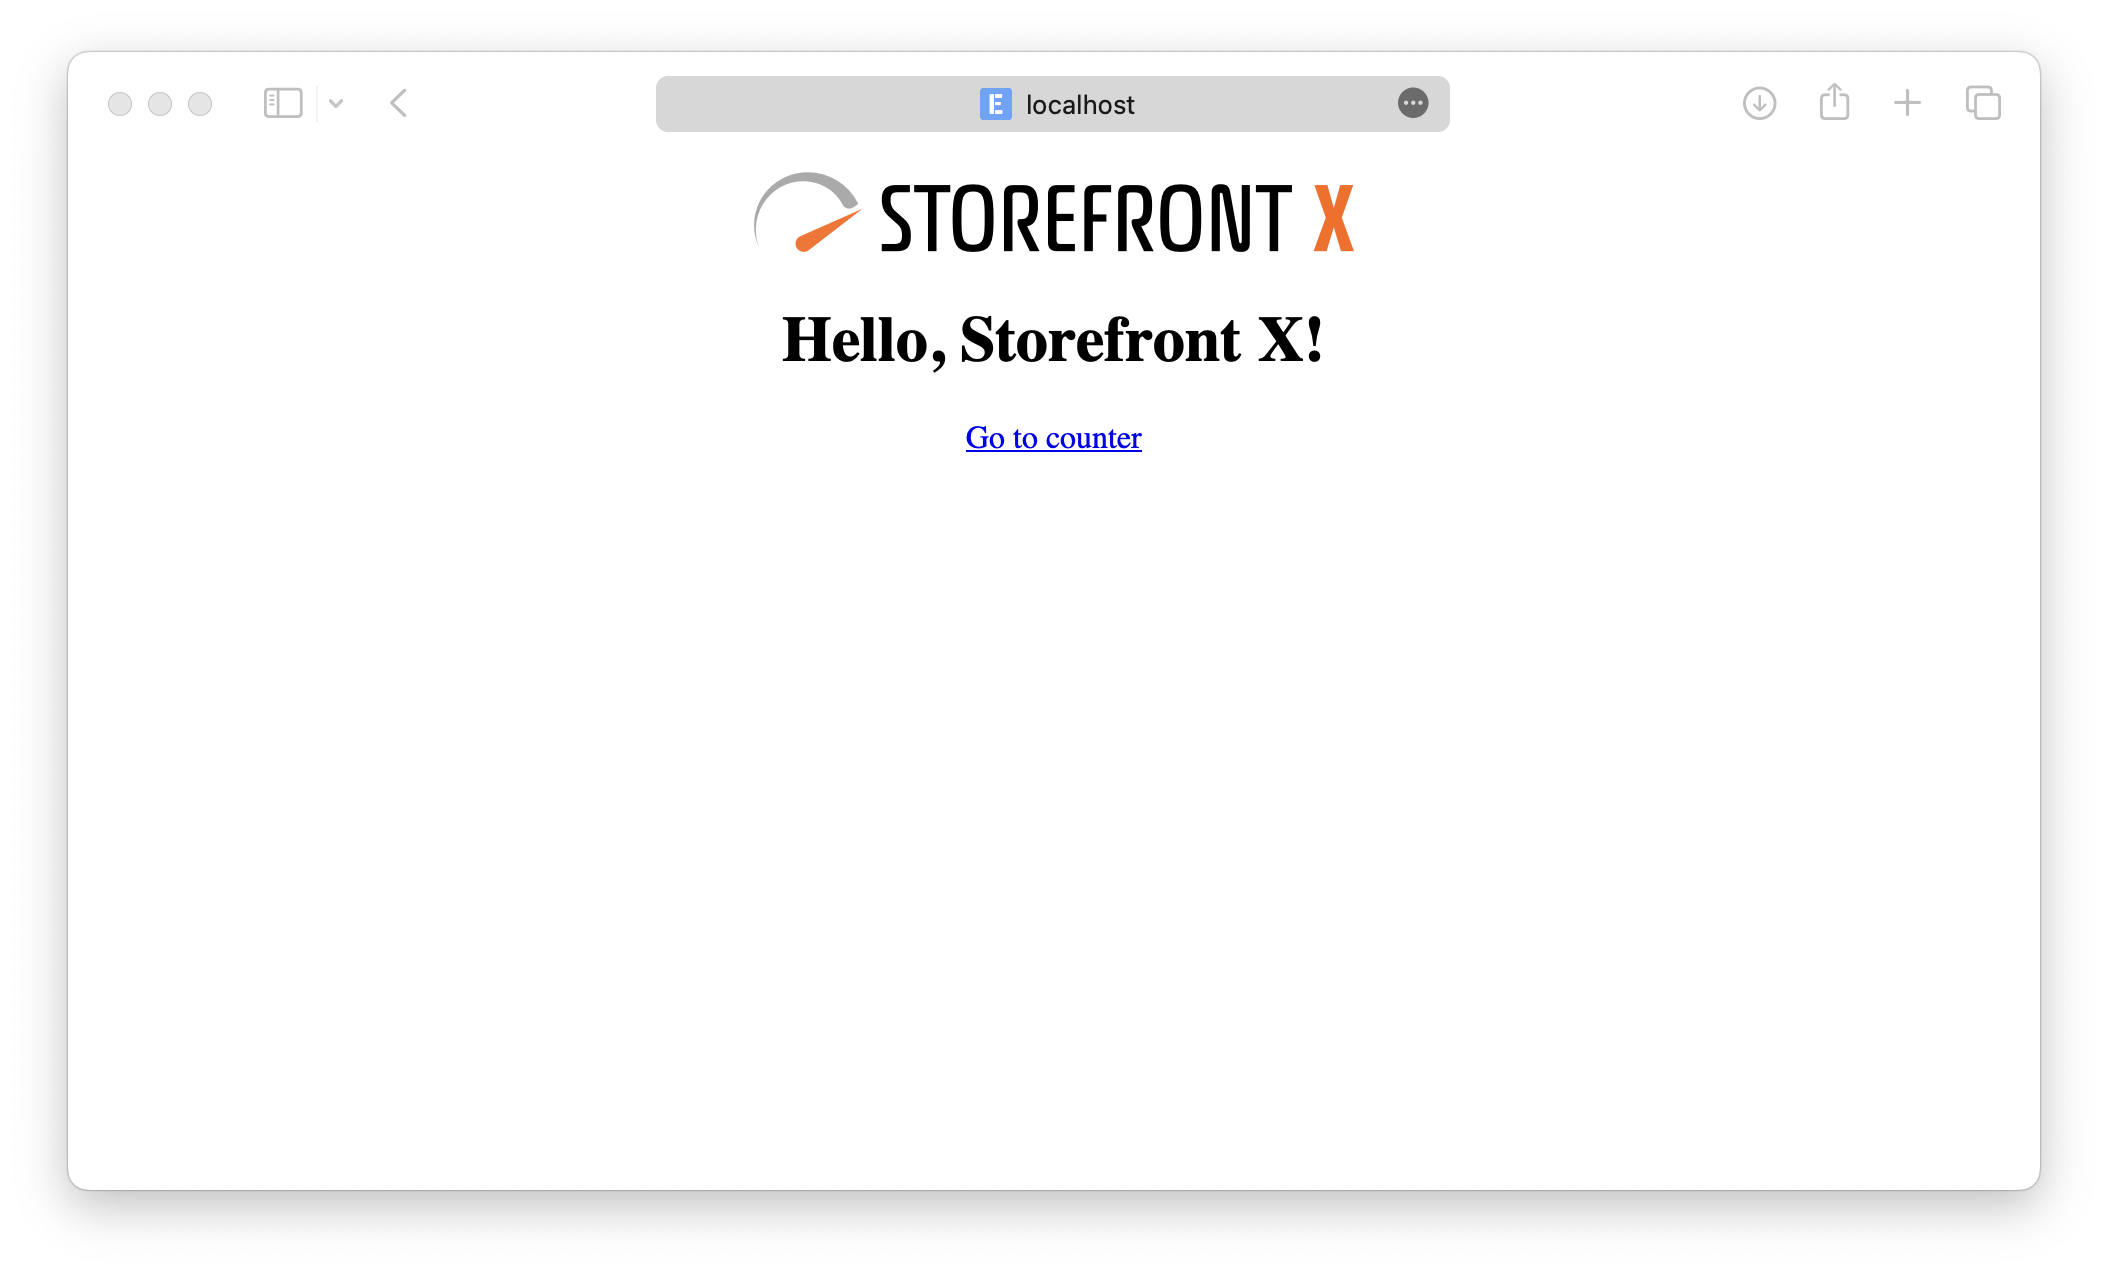
npm run devThe application should now be running on localhost port 3000 and should look something like this:
Structure
The generated code structure should look something like this:
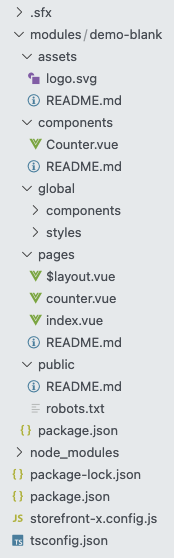
Storefront X uses only one global configuration file storefront-x.config.js, it defines which modules are used and in which order they are compiled during build. Bellow you can see which modules are enabled in our Simple TODO app. As you can see we have four global modules (installed as dependencies from package.json) and our only one custom module demo-blank. Our application can be made from multiple custom modules, they are placed in the modules directory.
// storefront-x.config.js
export default {
  modules: [
    '@storefront-x/base',

    '@storefront-x/vue',
    '@storefront-x/vue-router',
    '@storefront-x/vue-head',

    '@storefront-x/demo-blank',
  ],
}
For now we will work with the contents of the demo-blank directory because those files currently represent our application.
If you've seen other meta-frameworks like Nuxt.js or Next.js, you might be already familiar with some of these directories. As their names already indicates, the components directory contains components, the pages directory contains pages (file-based routing) and so on. You can also look at their readmes for more details.
TIP
Hot module reloading in Storefront X works for everything except for changing the storefront-x.config.js config.
Imports
One more thing that needs to be explained beforehand are #ioc imports. Look at the pages/counter.vue page component. It imports the Logo.vue component with this import:
import Counter from '#ioc/components/Counter'As you can see, the Counter.vue component is placed inside the components directory in the demo-blank module. Imports from #ioc are imports from global directory generated during build. Storefront X collects all the files from enabled modules and compiles them into .sfx/ioc directory, that means #ioc import may lead to any of the currently enabled modules (defined in storefront-x.config.js). This can be seen in pages/$layout.vue where the layout imports the SfxPageOutlet component, but this component is nowhere to be seen in our application. That is because this component comes from the global @storefront-x/vue-router module (installed as dependencies from package.json).
How the #ioc import actually works will be explained later. For now you can image that it looks into all of the enabled modules and somehow chooses the module that contains the requested file.
TIP
You can check the contents of the .sfx/ioc directory to see whats your application made of. It can help you debug and solve issues faster.
Fetching data
Lets now fetch data for our todo application. We will use the JSON Placeholder API.
Open the pages/index.vue page component and modify it like this:
<!-- pages/index.vue -->
<template>
  <div v-for="todo in data" :key="todo.id">
    <RouterLink :to="`/todo/${todo.id}`">
      {{ todo.title }}
    </RouterLink>
  </div>
</template>

<script setup lang="ts">
import useHead from '#ioc/composables/useHead'
import useResource from '#ioc/composables/useResource'
import { ref } from 'vue'

const title = ref('Hello, Storefront X!')

useHead({
  title,
})

const [data] = await useResource(
  () => 'https://jsonplaceholder.typicode.com/todos',
  (url) => fetch(url).then((response) => response.json()),
)
</script>
For data fetching, we use the useResource composable. It comes from the @storefront-x/vue module so it can be imported with the #ioc import.
The useResource composable takes two functions as parameters. The first function is responsible for gathering the input for the actual fetching logic in the second function. This needs to be separated so we can safely re-execute the first function to know if the input changed without re-executing the second function which would cause unnecessary network request. The first function uses Vue.js watcher so you can use refs, reactives or composables inside to make the data fetching reactive. How this is done, will be shown later.
The second function of useResource composable takes output of the first function as input and fetches the data. This function is called only when needed, to minimize number of network requests (for example data fetched on the server side during server side rendering won't be re-fetched on the client side).
The useResource composable is asynchronous so it needs to be awaited. It returns array with fetched data on the zeroth index.
We can then iterate over the data and render a link for every todo returned.
TIP
The useResource composable is meant for downloading data. If you want to send a mutable request to your backend, you can use plain fetch inside of some event handler function.
New pages
Now we have page with links to our todos. These links look like this: /todo/1, /todo/2, /todo/3, ... If you click on these links now, the 404 page will be displayed because we aren't handling this pages yet. Because we don't know all of the IDs during build, and we would like to handle all of these pages in one component, we will use parametrized page component.
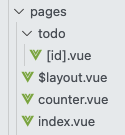
First create a todo directory inside the pages directory and then add [id].vue file inside of it. The [id] represents parameter called id that will match anything. Because it is inside of the todo directory, it will match only URLs beginning with /todo/.
Lets write a simple code to display the ID of the current todo:
<!-- pages/todo/[id].vue -->
<template>
  <h1>Todo {{ route.params.id }}</h1>
  <RouterLink to="/">Go back</RouterLink>
</template>

<script setup lang="ts">
import useRoute from '#ioc/composables/useRoute'

const route = useRoute()
</script>
The useRoute composable is the same as the useRoute composable from the Vue Router library, but because it's provided by the @storefront-x/vue-router module, it is imported using the #ioc import. It returns information about the current route. And because this is parametrized route, with parameter named id, we can get the value of that parameter with route.params.id.
Of course we would like to download and show detail of the todo. We do that using the useResource composable.
<!-- pages/todo/[id].vue -->
<template>
  <h1>{{ data.title }}</h1>
  <h2>Done: {{ data.completed ? '✅' : '❌' }}</h2>
  <RouterLink to="/">Go back</RouterLink>
</template>

<script setup lang="ts">
import useRoute from '#ioc/composables/useRoute'
import useResource from '#ioc/composables/useResource'

const route = useRoute()

const [data] = await useResource(
  () => `https://jsonplaceholder.typicode.com/todos/${route.params.id}`,
  (url) => fetch(url).then((response) => response.json()),
)
</script>
Because route is a reactive object used inside the first function of useResource composable, when the id route parameter changes, the fetcher (the second function of useResource) will be automatically re-executed.
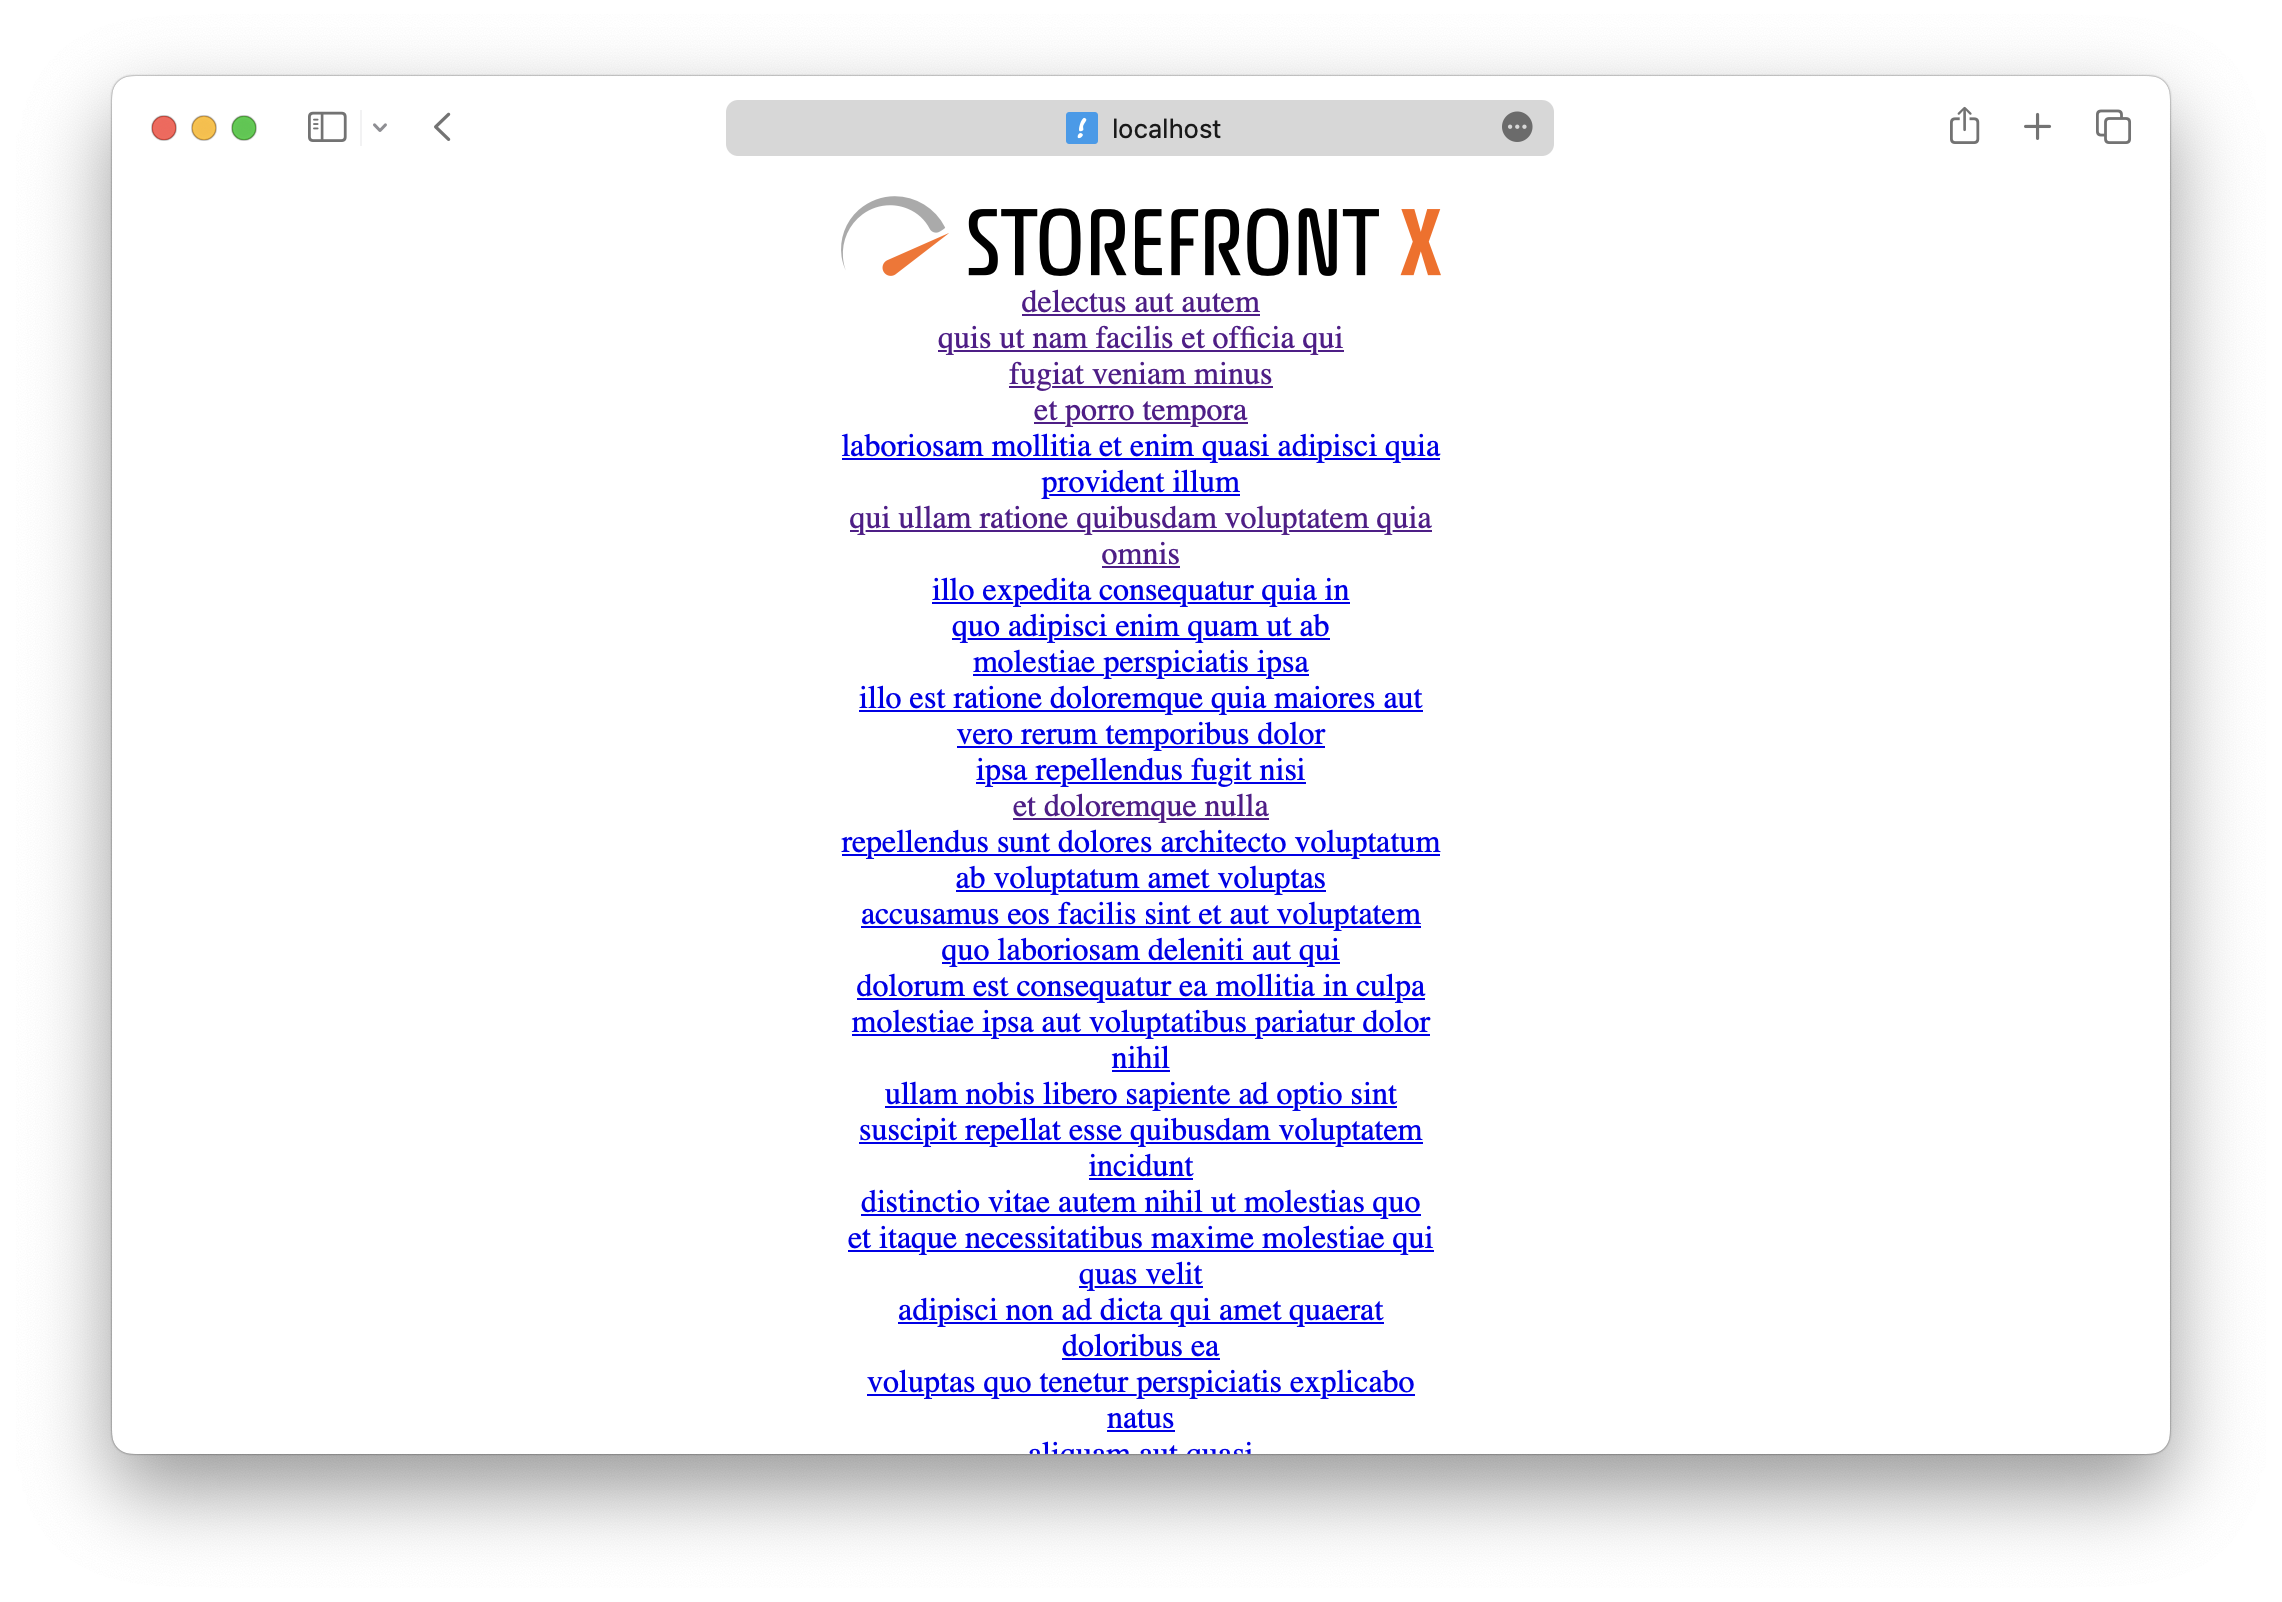
Our application should now have a list of all todos like this:
And detail of one todo like this:
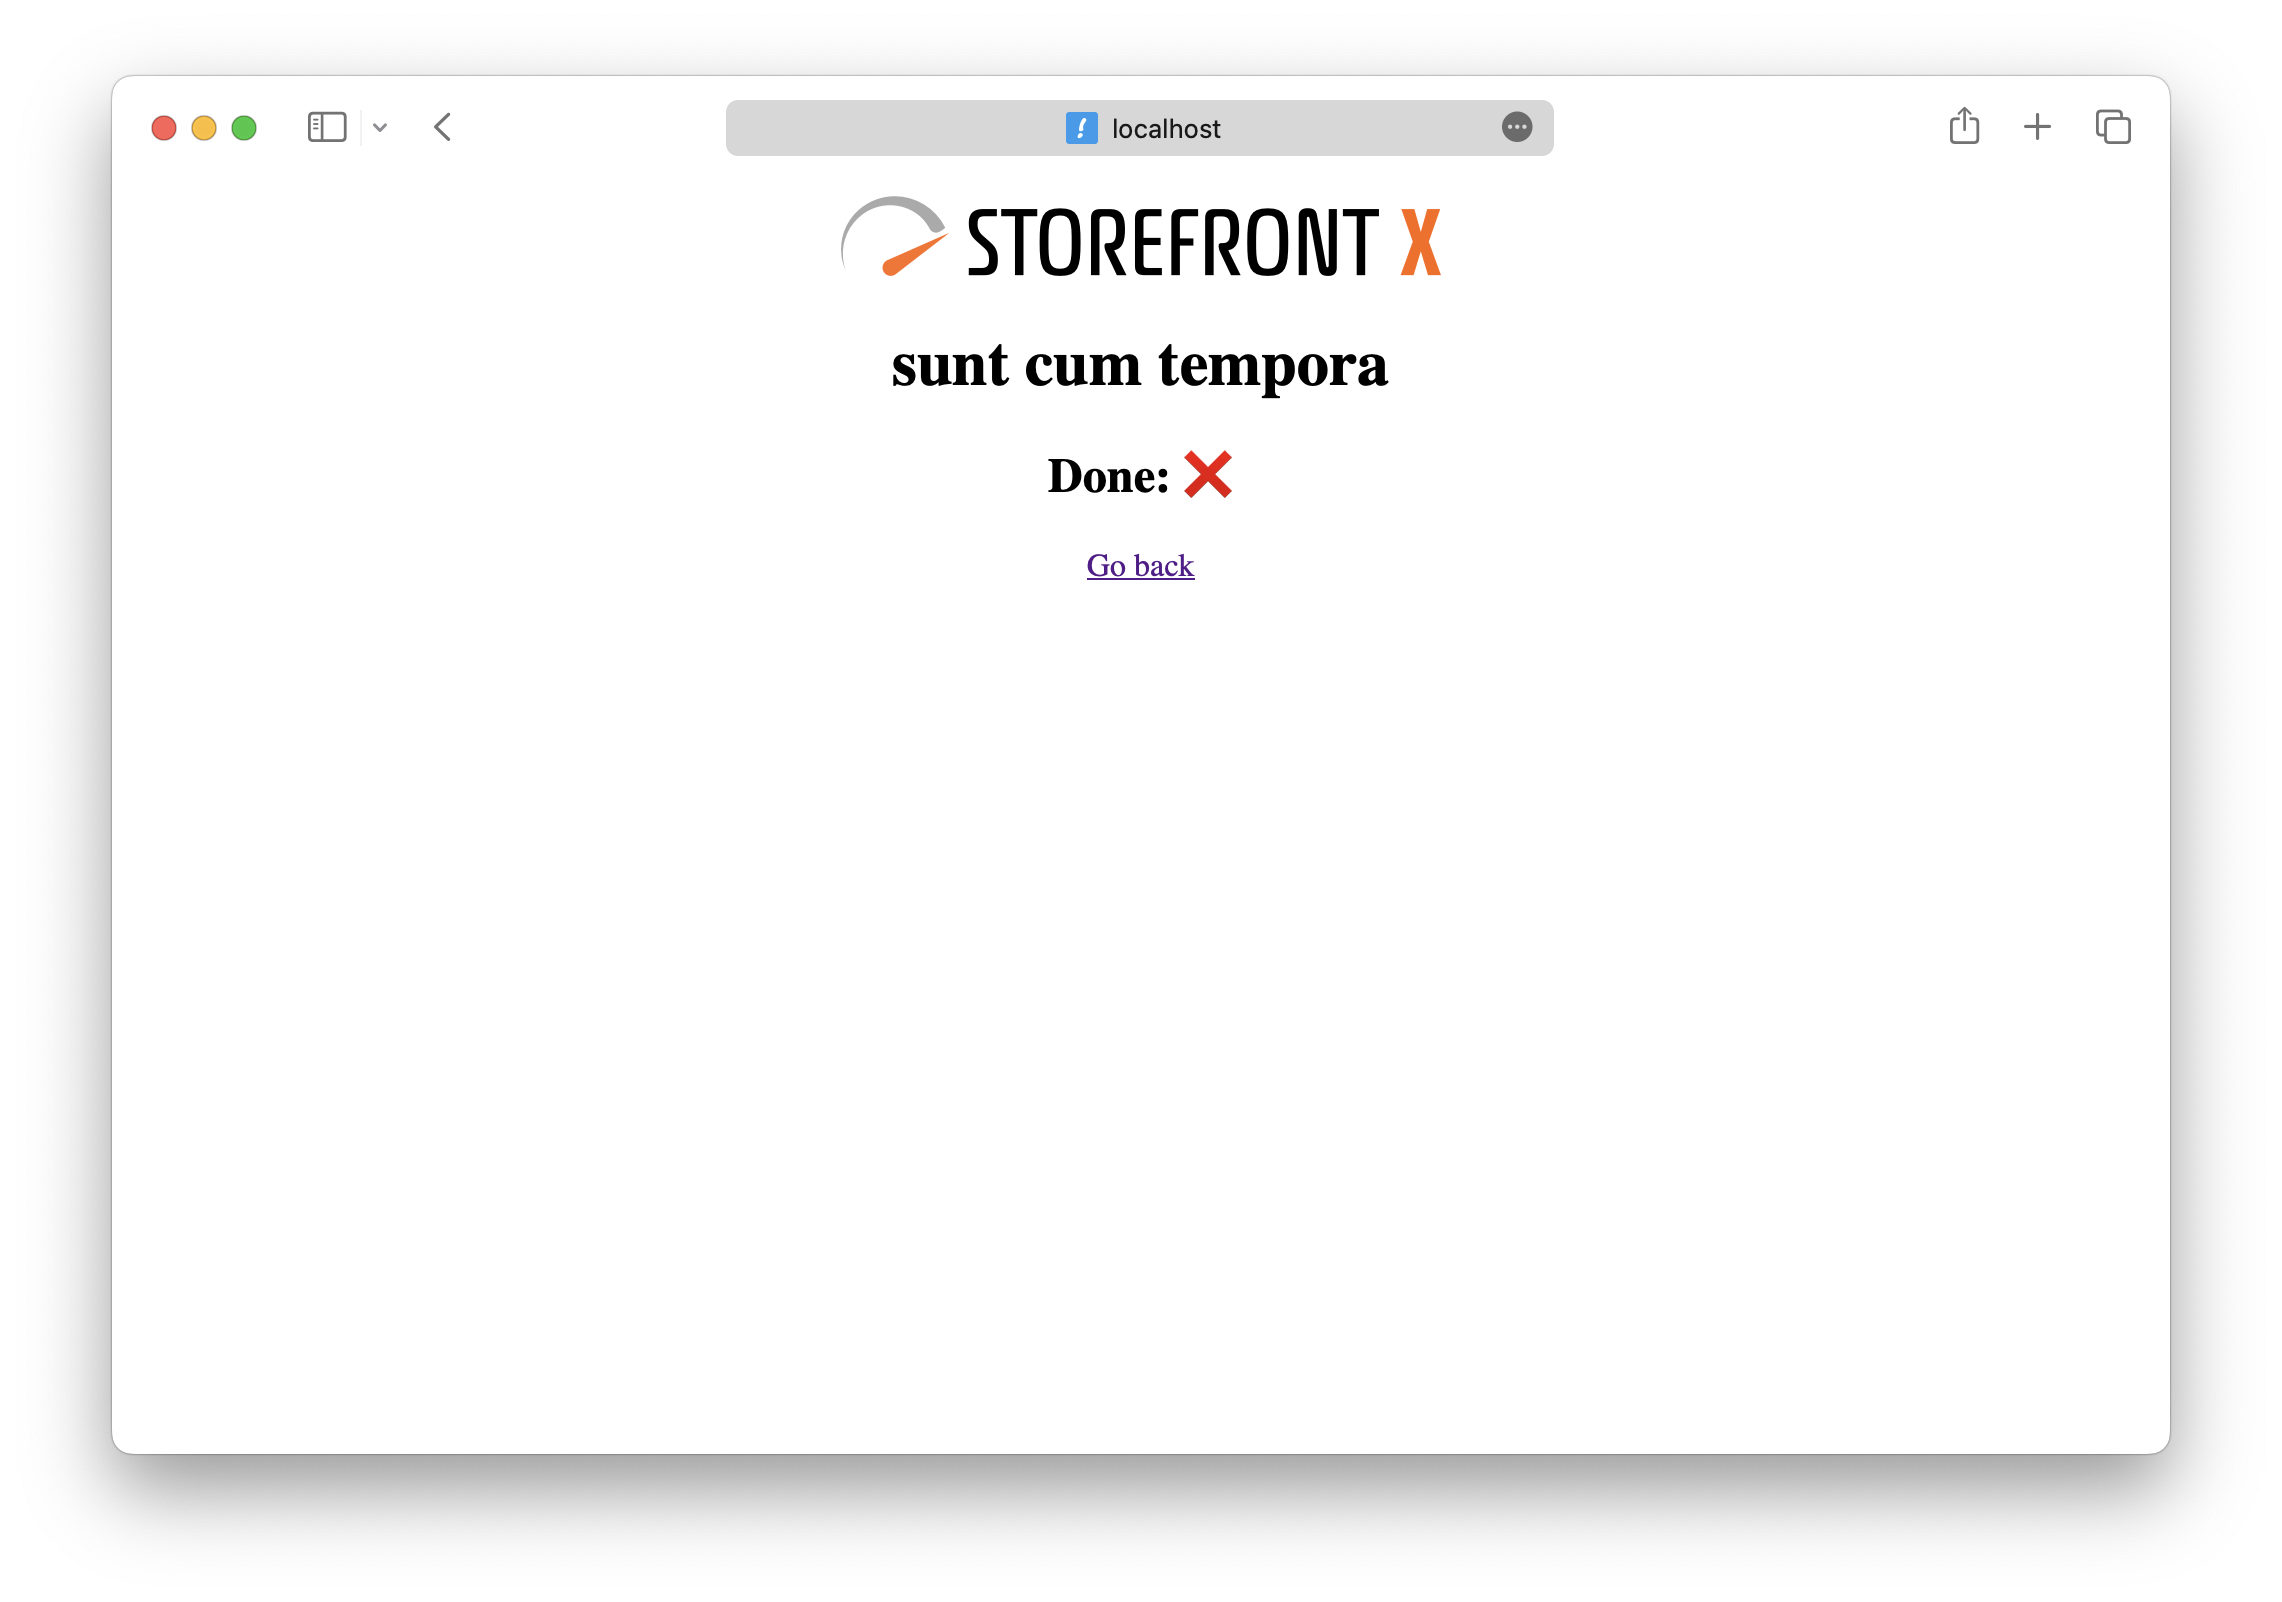
We hope that was fun and now you are ready to learn How it works